

As soon as Christmas is over, I cannot deal with Winter anymore.
Suddenly, the cold dark afternoons aren’t so cosy anymore without the glow of fairy lights, and I find myself counting down the days till lighter evenings and Spring.
Apart from the cold blustery days, I despise Winter for the fact it’s so dark all of the time. Currently as I write this, it’s 2pm and I have pretty much all the lights on. 2pm! How crazy is that. So you can imagine how much of a nightmare it is to take blog photos in the Winter.
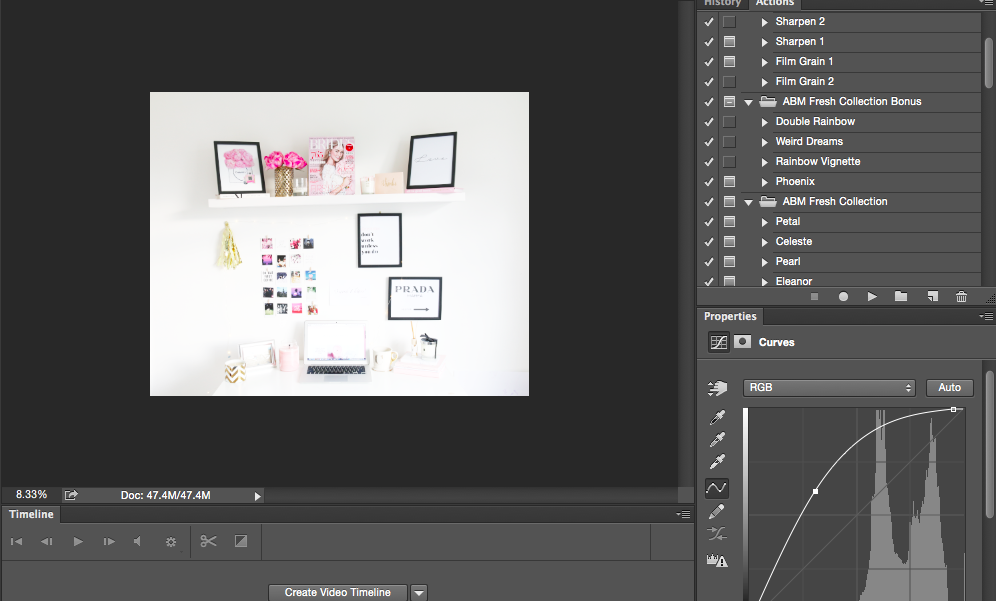
The amount of times, that I have had to delete photos cause they’re too grey or dark, is too many to count, which can be pretty annoying. However, I feel like I’ve finally found some ways to brighten photos in the Winter, and I thought I’d share them today.
1. Be Organised:
Unfortunately, you need to be organised in the winter when it comes to taking blog photos. I tend to check the weather and plan to take photos on days that are bright. I usually find that the morning/early afternoon are the best times to take photos, usually after 2:30 is when it’s starting to get dark. It’s a small time window which is definitely annoying but this is when I find the best photos are taken.
2. Use Natural Light (if you can!)
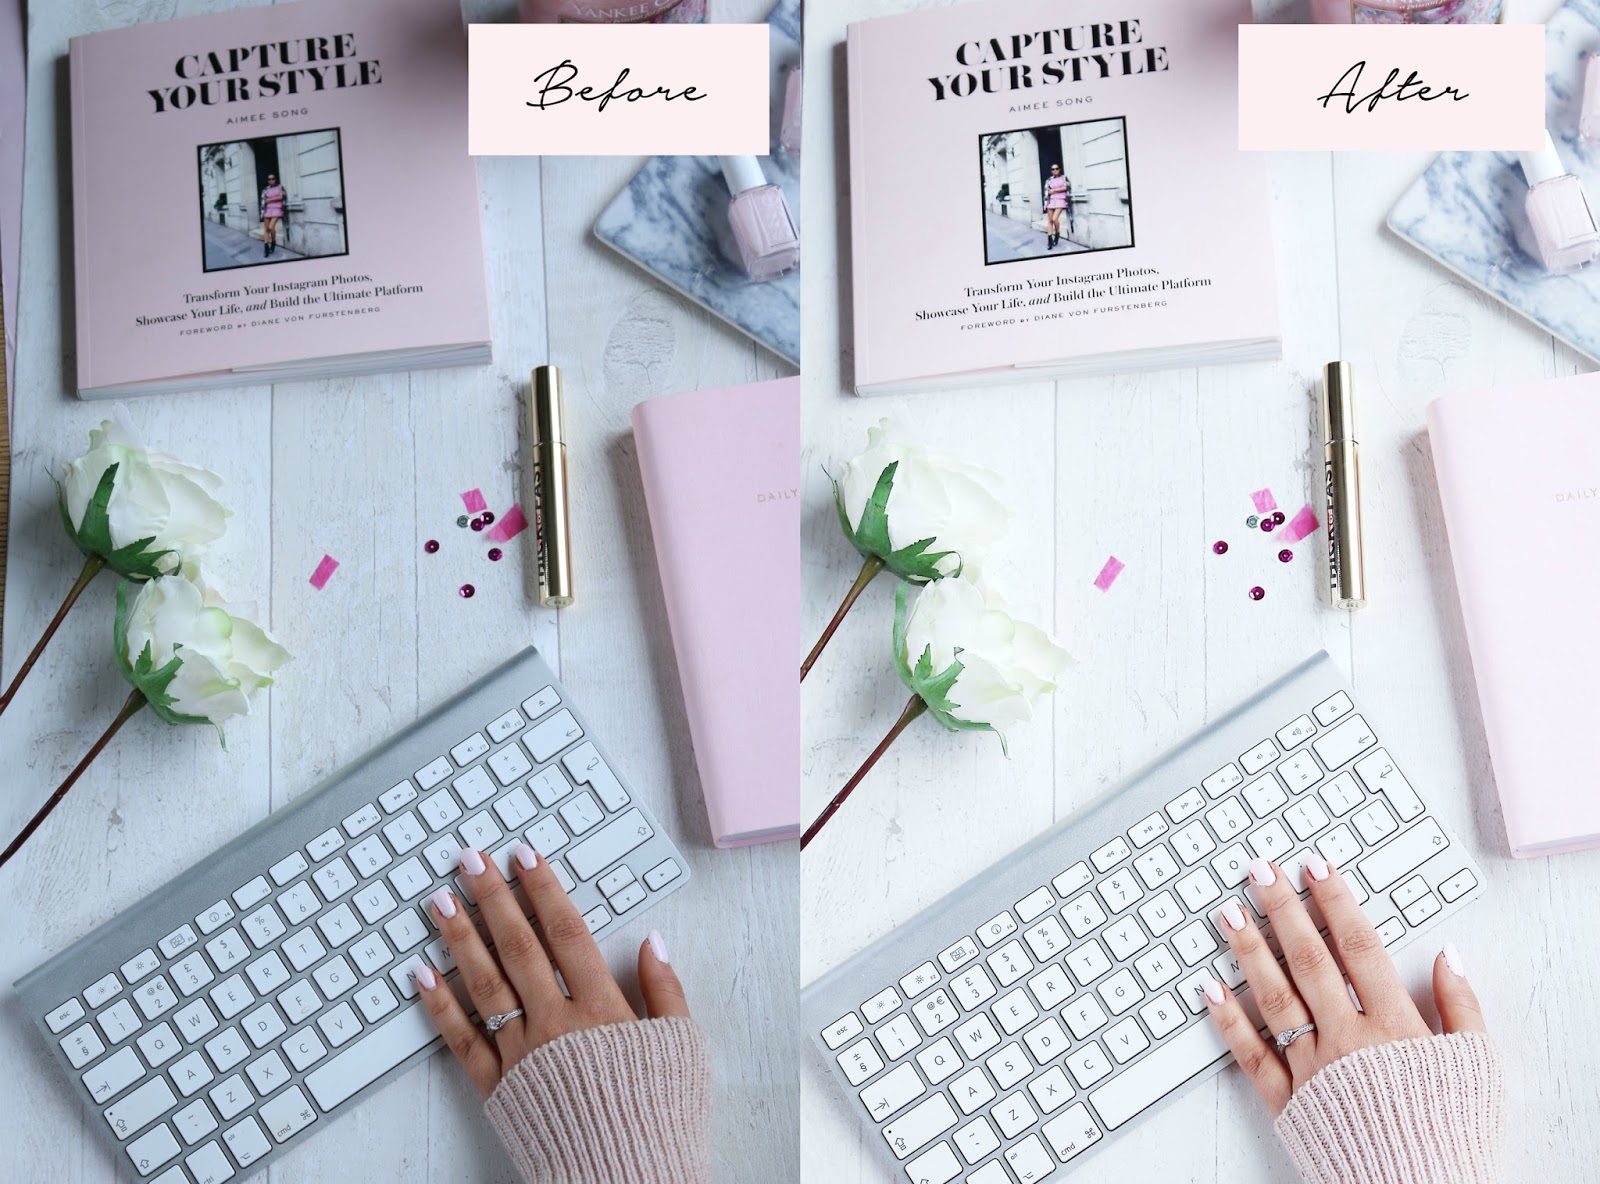
I know that if you work full time, it can be tricky to take photos when you don’t have a lot of time, however if you can try and take photos in the day time with as much natural light as you can. I tend to take mine by the french doors going into the garden which brings in a lot of light, I find that taking photos at the same level as natural light works really well. So take a picture on a table next to the window, or by a glass door, if you get what I mean. If you really need to, then studio lights can be used, but I prefer not to as I feel like it doesn’t make pictures look as good. However soft box lights, which you can get from Amazon/Ebay for not too much can help if you have to take photos at night/whenever you can.

3. Get A Reflector :
I bought a reflector last Autumn and oh my god, I can’t believe how much of a difference it makes! I got one from ebay for about £6 and it’s been such a huge help for brightening photos. I tend to place the reflector opposite the glass door so it reflects the light back again over the photo. This helps to eliminate shadows and makes the overall effect brighter. I definitely would recommend in investing in one!
4. Play Around With Your Camera:
I used to always take photos on the Auto mode of my camera, however, as soon as I started to learn about my camera properly (I use the Canon 70d btw) I was amazed by how much brighter I could get photos. I’m still not a whizz with cameras, however this post really helped me to understand things. I tend to up the ISO on really dark days as this really helps, but don’t up it to anymore than 800 as then the quality can get a little grainy! If you take a lot of photos on your phone, I learnt another tip recently too which is a life changer. When you are taking photos, hold down on the screen and a little sunshine icon should turn up, when you see this, bring the level up as this will brighten up the overall photo.
5. Use Curves To Edit:
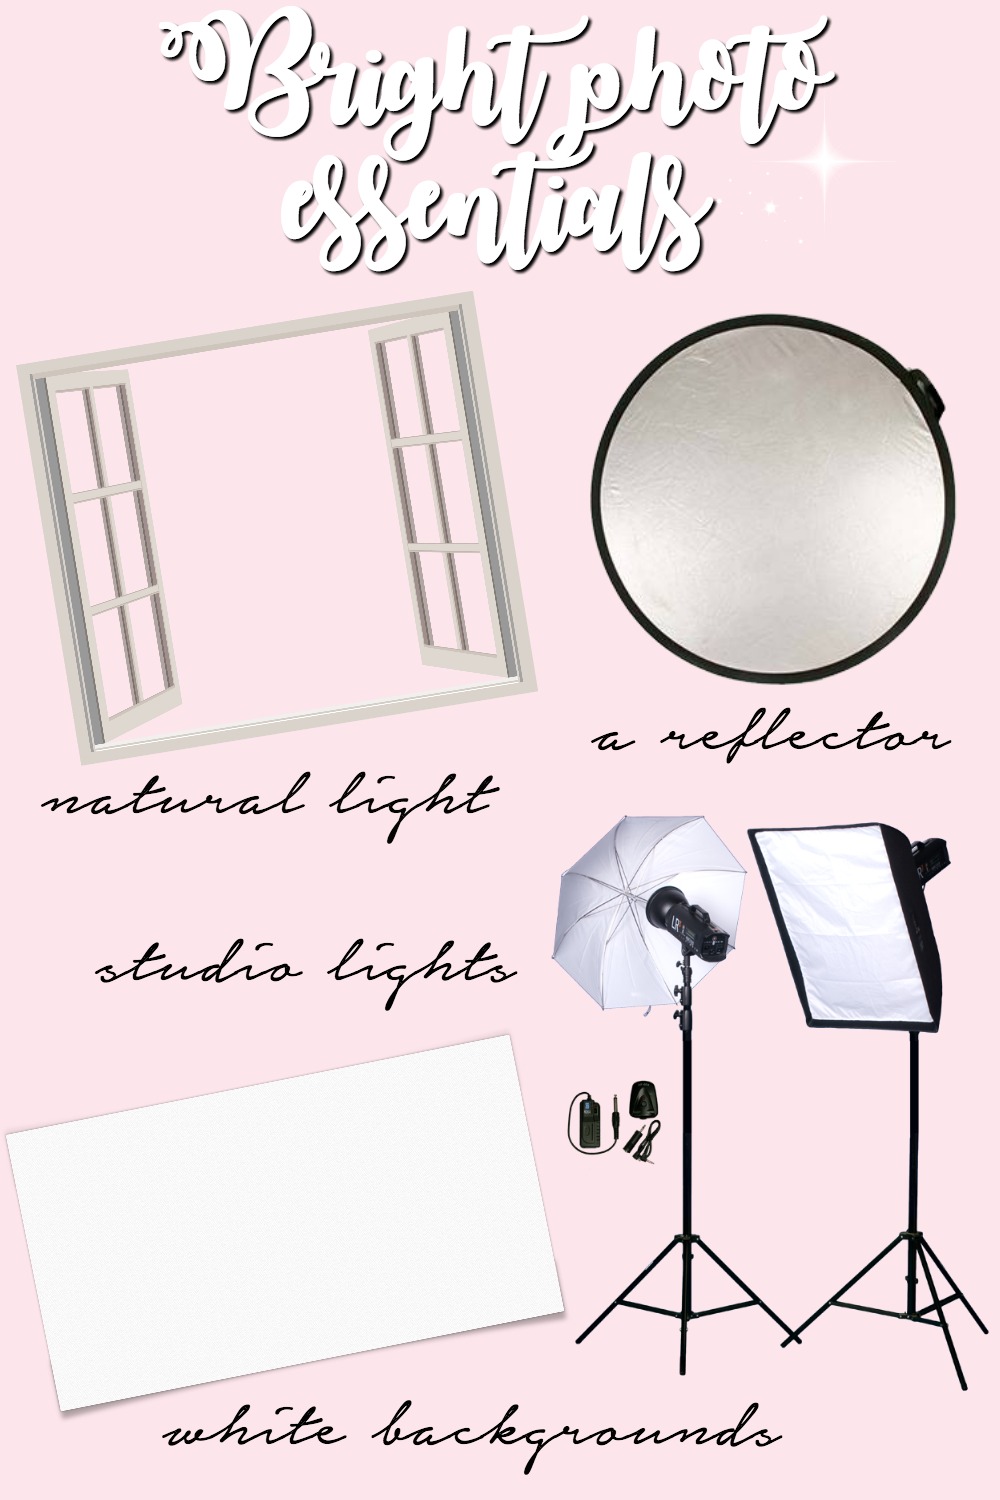
I try to not edit my photos too much, but sometimes you have to Brighten photos when editing and for when I need to do that, I will use curves. You can find the curve tool in Photoshop which is what I use, but PicMonkey also has a curve tool too. I tend to play with this to make the photo brighter and lighten the shadows.

I find this is less harsh that upping the exposure which is what I used to do. This is all I usually do to my photos as I still want them to look naturally bright.
6. Using Filters:
If I’m editing a picture on my phone for Instagram, I’ll use the app Facetune to help brighten up the overall image. I use the Filters section and then use one call ‘Lighten’ this brightens up the whole photo perfectly. Sometimes it can be a little too much for products in the image, but you can choose where to apply the filter by using your finger, so it’s a really handy tool to know about, if you like a bright Instagram theme! The whiten tool on Facetune is also good for brightening up dark/dull backgrounds and making photos brighter!
Usually I find though, that by taking photos with lots of natural light, using a reflector and upping the ISO is usually all I need when it comes to taking nice bright photos for my blog. I hope these tips have helped, if you are struggling with dark photos this winter!
Let me know your top tips for taking bright photos in the winter!
SaveSave